

A friend of mine texted me asking if I would be interested in designing and building a cart for her storage bins (the black bins with yellow lids you find at big box stores). She wanted to make better use of the vertical space in their garage.
I stopped by her house in the afternoon. We discussed where she wanted the cart. A cart with 4 bins across and 4 bins tall fit perfectly in her available garage space. But she also wanted it built on wheels so she could move it if needed.
I took some measurements, borrowed one of the bins she wanted to use, went home, and began designing.
The design revolved around the bin size, which meant accurate measurements were imperative. If I got that wrong, everything else would be wrong too. So, with a little time, I was able to build a representative model for the bins. Once the bin model was complete, I moved on to the cart’s design.
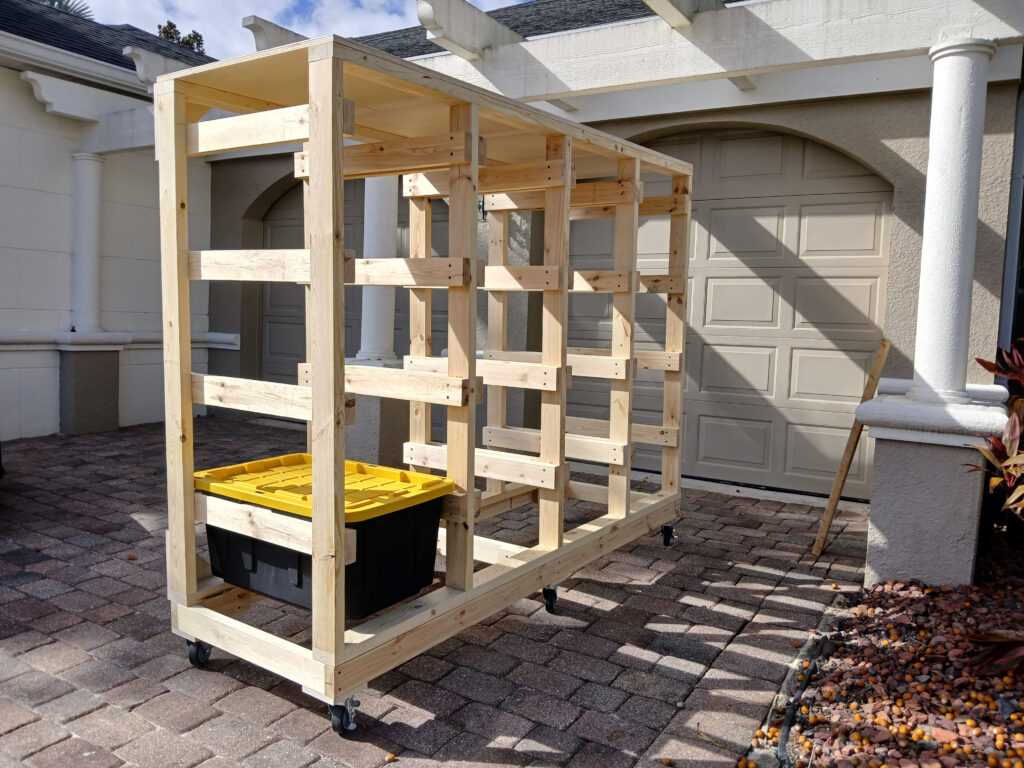
The concept for the cart was fairly simple: position two horizontal support pieces on either side of each bin, and space these horizontal supports far enough apart to allow easy removal and replacement of the bins, while minimizing the overall size of the cart. Vertical supports hold the horizontal support pieces in place and carry the load down to a box frame on wheels.
With the initial design complete, I sent a link to the model over to my customer to see if anything needed changed. There were a few minor adjustments, but overall, the design was what she wanted. Now, it was time to get to work.

Side note: one huge benefit of using a 3-D model on projects like this is that I can more accurately determine what materials I need and how much. It saves time and trips to the hardware store. Furthermore, I know all the pieces of the project will fit perfectly together. Any mistakes are made in the modeling phase. Once the model looks right, the final product will too. Modeling is an extremely useful step in the process.
Anyway, back to the project.
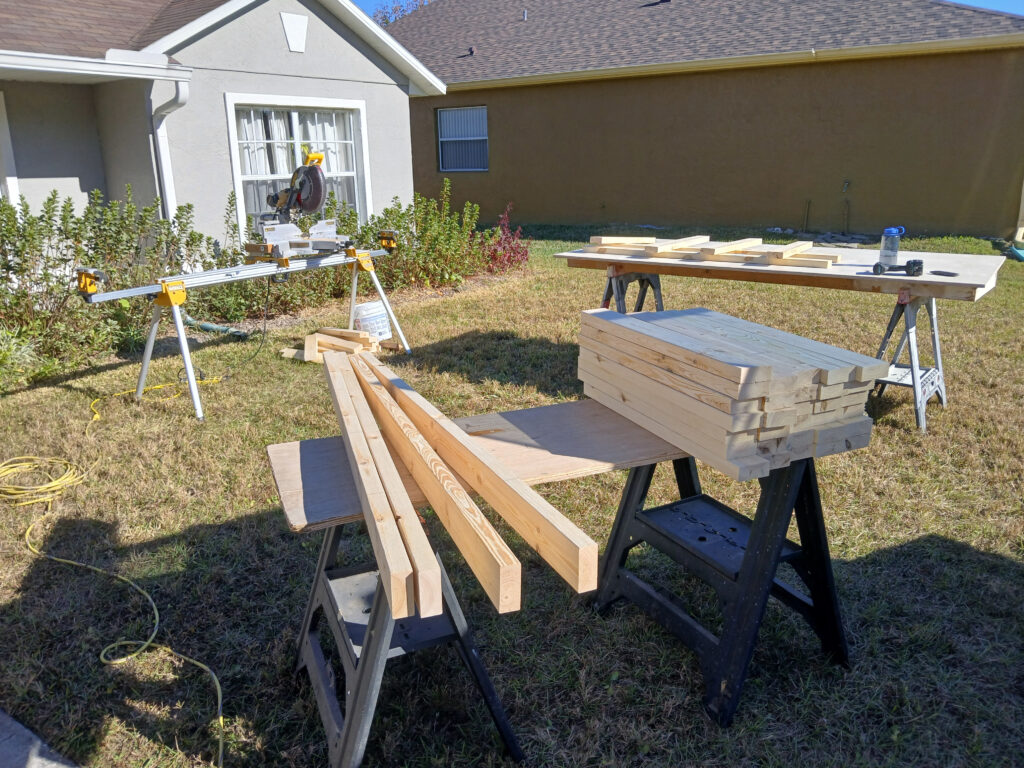
I calculated what I needed, purchased the materials, brought everything home, and started cutting. The assembly was quite smooth. I referenced the model for the required spacing, laid out the 2x4s, and began screwing the piece together.

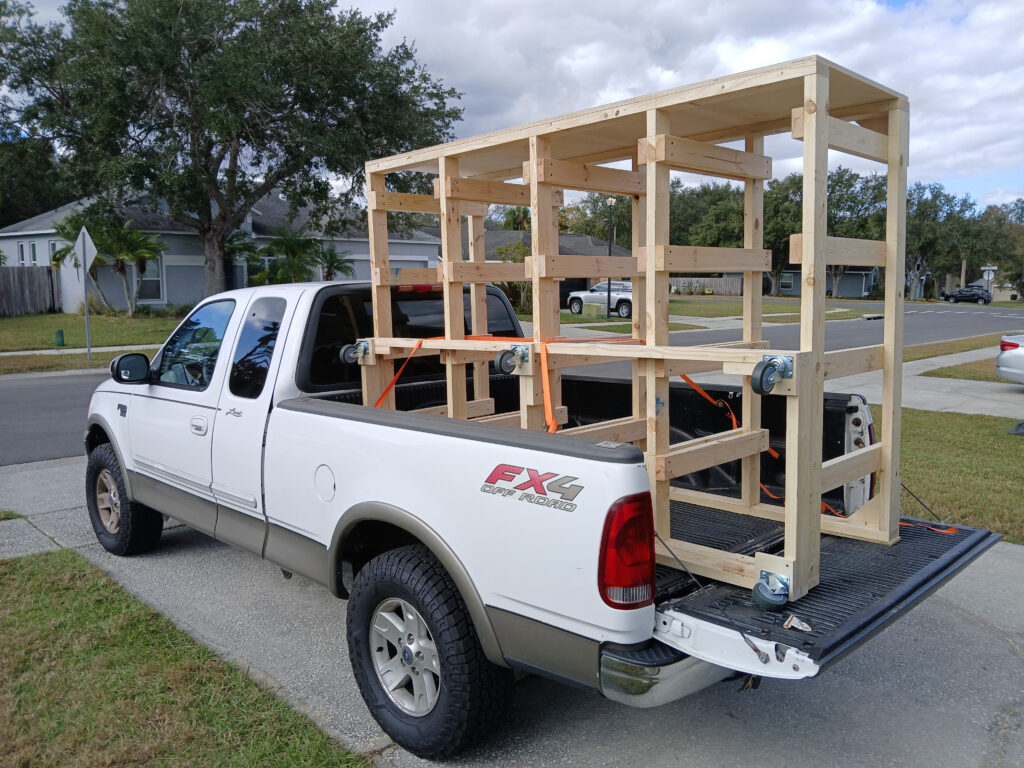
I decided to transport the cart to my customer’s house with the wheels off; I didn’t want the cart to roll away from me as I unloaded it from the truck. You can see in the picture that the bottom box frame is separate from the rest of the cart.
After everything was unloaded, I attached the bottom box frame to the cart, flipped it right side up (with some help; that thing was heavy!), and rolled it into her garage.
My customer was pleased with the final product. She sent me a picture of the cart in use.
I enjoyed this project, from start to finish. It was a lot of fun!

As always, thanks for reading about this project. I hope you enjoyed the post and learned something new.
If you’re in the Oviedo, Florida area and have a project you really don’t want to tackle yourself, I would be happy to stop by, take a look at what you have going on, and discuss possible options that might work for you.
I thoroughly enjoy producing quality work and making sure that you’re satisfied with the project before I leave. It’s the only way I want to do business.
To book a free estimate, click the button below.