
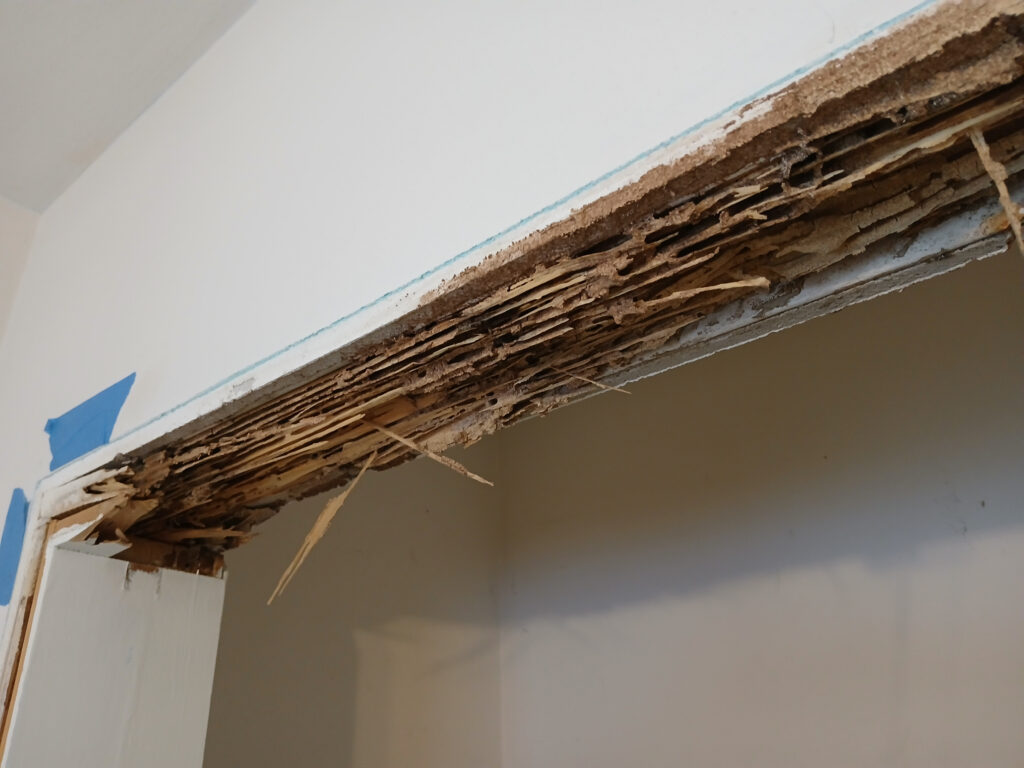
A friend asked if I could help his son with an issue at their house. Termites had destroyed the trim and header around one of their bedroom closets. I was happy to look at the project, and we scheduled a time for me to stop by.
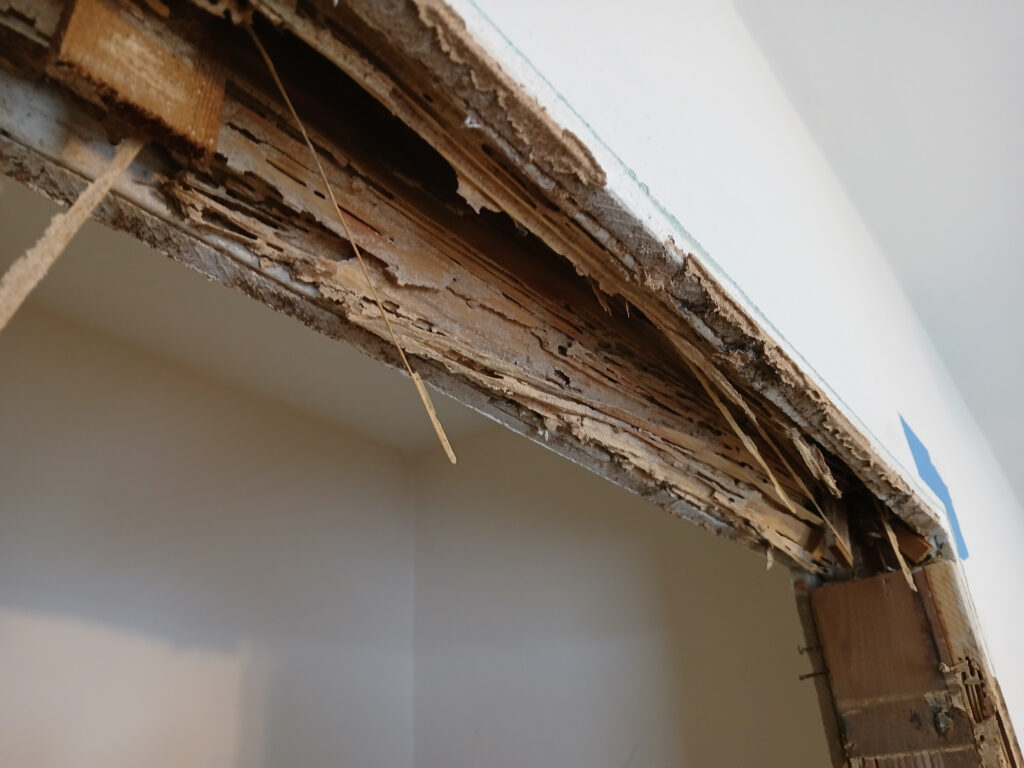
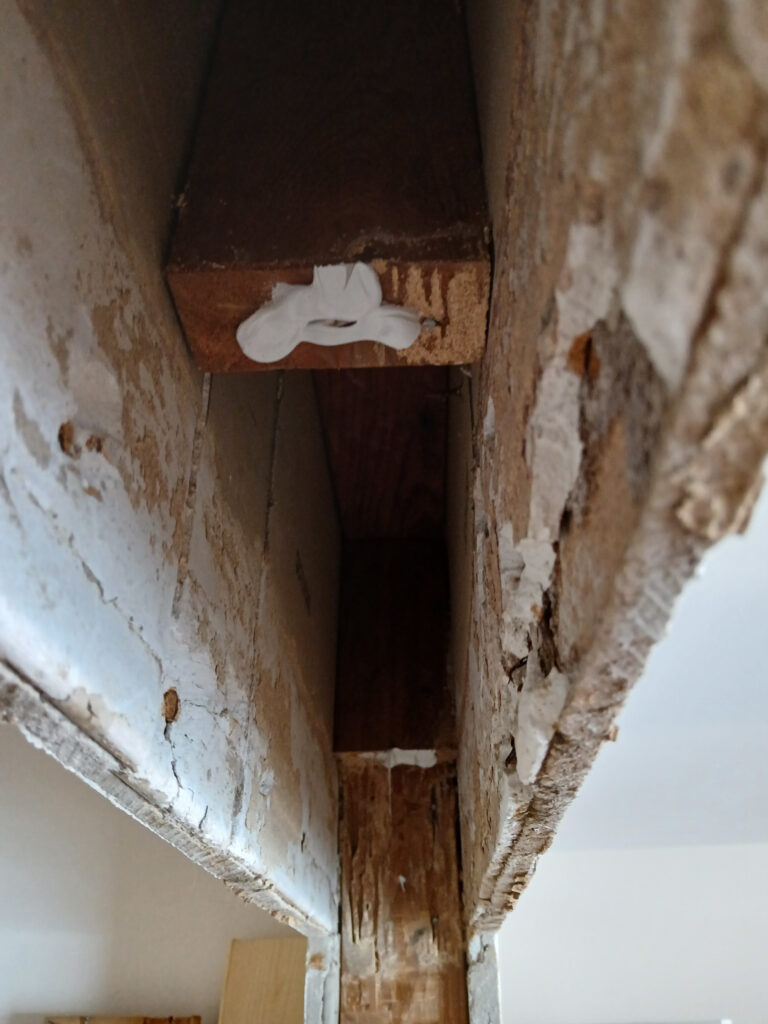
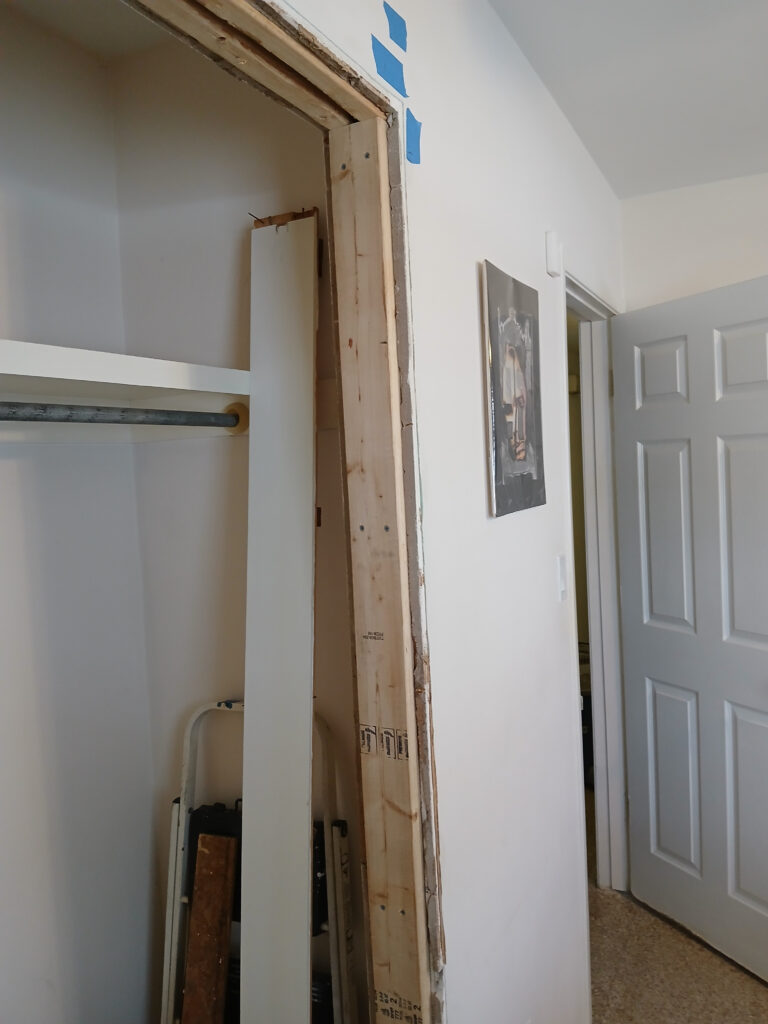
“Destroyed” is the right word. The framing looked like toothpicks held together by paper-thin remnants of the original structure. I was able to push my hand completely through the header and feel the cripple studs inside the wall. It was a mess, to put it mildly.
I went home and wrote up the bid. They agreed, so we scheduled the work.
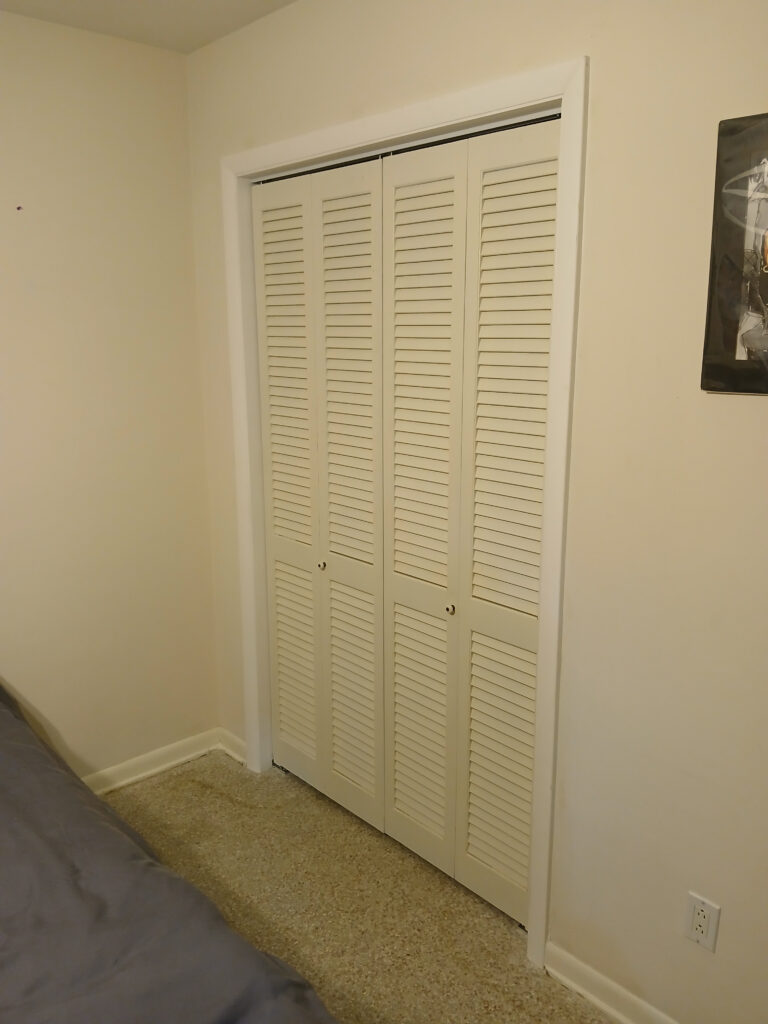
My first priority was to mark the position of the original trim on the wall. Knowing the width and height of the original opening would be incredibly helpful when installing the new trim because it takes out much of the guesswork. If the new trim matches the old trim, the closet door should fit properly.
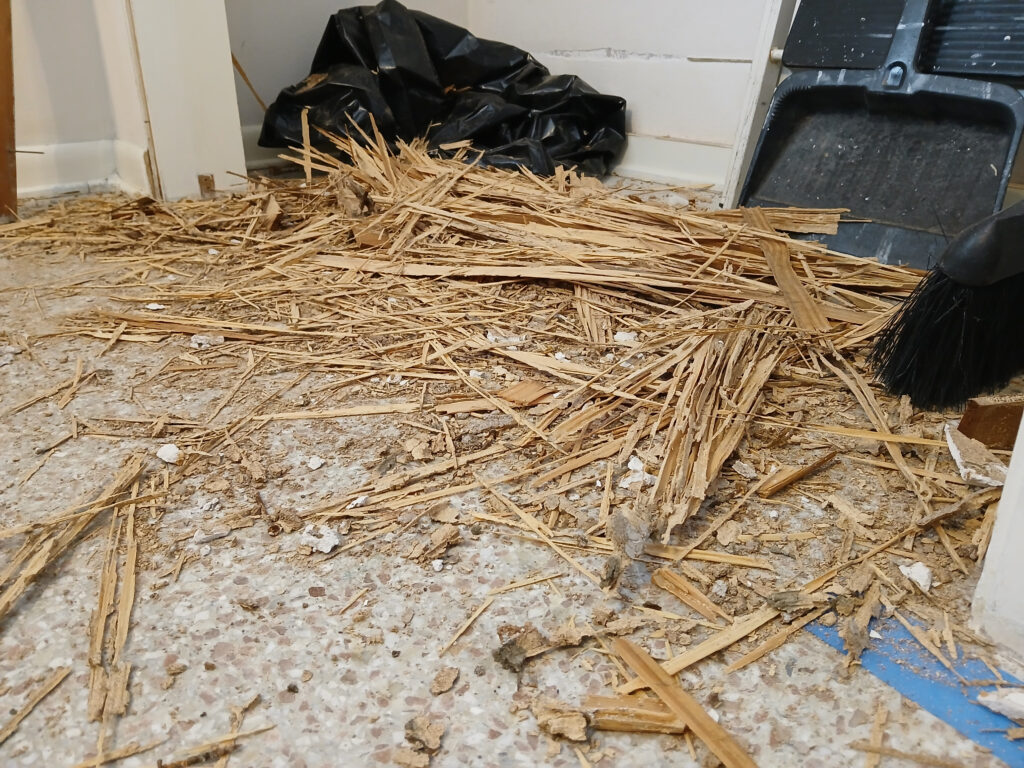
Next, I had to remove all the damaged wood and assess how much material was needed. Thankfully, the termites had only eaten through the trim, one jack stud, and the header. Everything else was untouched. So, rebuilding the structure was straightforward.
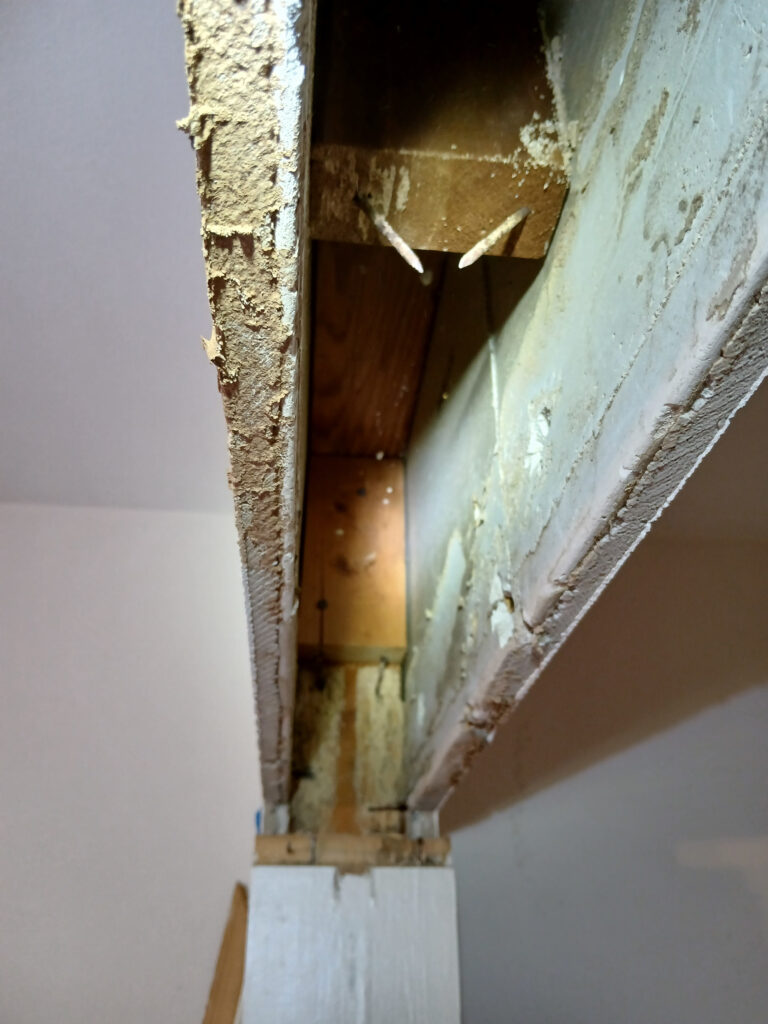
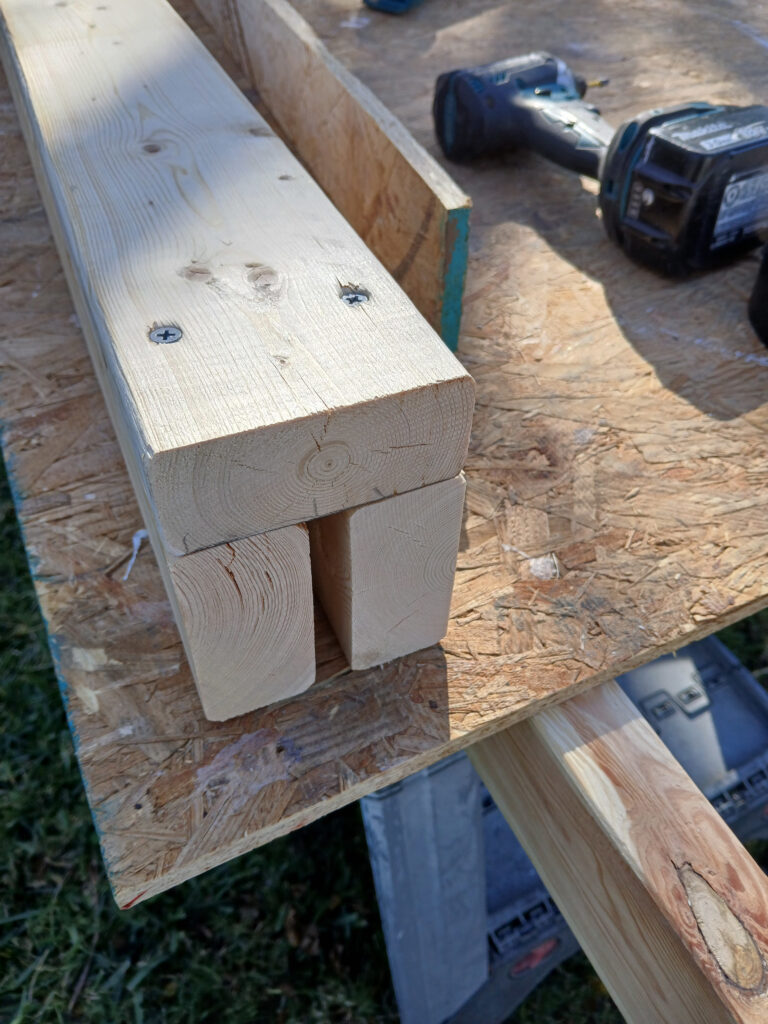
After purchasing and bringing the materials back to the job site, I built the new header – a 2×4 plate lying flat, supported underneath by two 2x4s sitting on the edge. Once fabricated, I dry-fit the header to ensure the dimensions were correct.
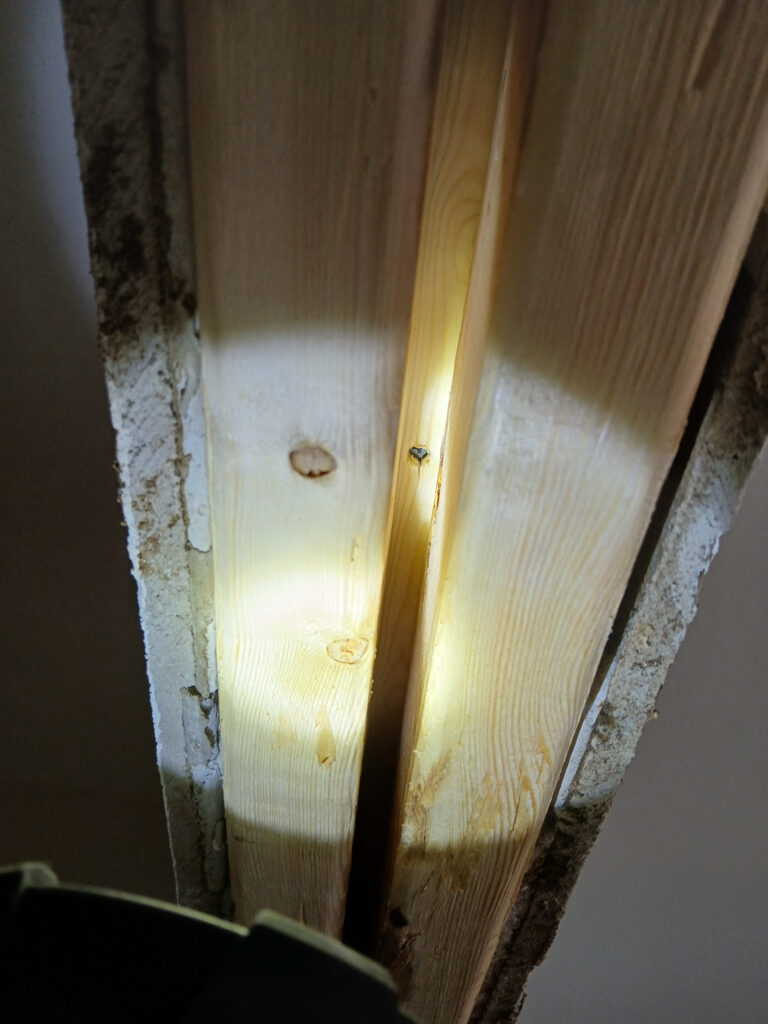
Securing the header was the tricky part. Because the drywall prevented access to the cripple studs above the new header, I applied a thick bead of heavy-duty construction adhesive to the bottom of each of the cripple studs before installing the header. Then after pounding the header into place, I ran a screw through the plate of the new header into each cripple stud, which would hold the header tight against the cripple studs until the adhesive set up.
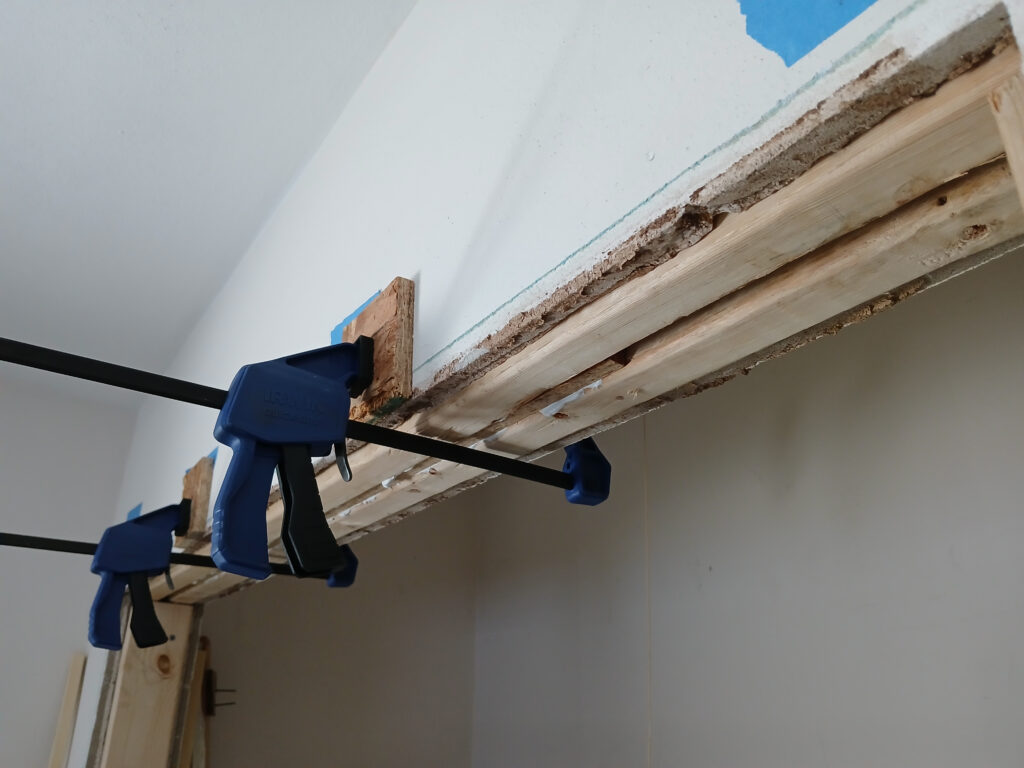
After the header was in place, I cut jack studs to support the ends of the header and screwed them to the king studs. The structure was now complete. On to the trim.
I ripped down the 1×6 boards to fit the width of the opening. Then, I cut the boards to length using the marks from the original trim. Next, I used a laser level to determine how far the trim boards needed shimmed out from the framing. With everything cut to the proper dimensions, I glued and nailed everything in place.
Pro tip: if your new trim pieces are plumb and level, the corners will be exactly 90 degrees. This makes cutting the casing much simpler. Determine how much of a reveal you want at the inside edge of the casing, mark the corners with the reveal, place your casing against the wall, and transfer the mark to your casing. That mark will be the inside of a 45-degree angle. If you do this with all three pieces (note that the top piece will have marks at both ends), the miter corners should fit perfectly with the exact reveal you want.
Because I like my corners to look as perfect as possible, I will glue the miter corners together before nailing them together. It’s an extra step that takes more time, but I like the results better. My corners stay nice and tight.
Once the casing was installed, I filled and sanded all the nail holes, caulked the edges, and primed any bare wood. The homeowner said he would paint the trim and wall later. The last step was to install the closet door hardware and the door itself.

My description probably makes it sound like everything went smoothly as planned. Not true. When working with older homes and other people’s work, there are often challenges. But it’s possible to work through them. It just takes time and a thoughtful approach. This was the case here.
In the end, the homeowner was pleased with the work. And it felt good to take care of my friend’s family. That’s a win in my book.
As always, thanks for reading about this project. I hope you enjoyed the post and learned something new.
If you’re in the Oviedo, Florida area and have a project you really don’t want to tackle yourself, I would be happy to stop by, take a look at what you have going on, and discuss possible options that might work for you.
I thoroughly enjoy producing quality work and making sure that you’re satisfied with the project before I leave. It’s the only way I want to do business.
To book a free estimate, click the button below.